Display a state-of-the-art chat widget on your Webflow webiste. Enhance your customers’ experience with multichannel approach, engage them with automated solutions and win them with the best communication an ecommerce store can offer.
Installation
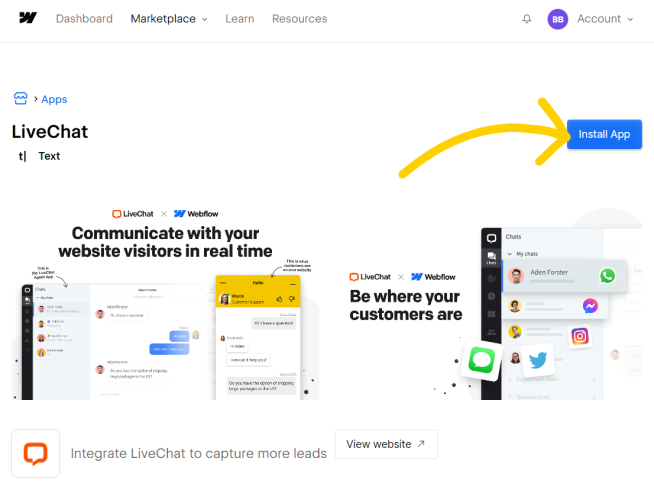
Navigate to the .
1
Select Install App.
2
Select the store(s) you want to add 89����ô�� to, then select Authorize App to confirm.
3
Create a 89����ô�� account or select log in to log into existing account.
4
Switch the toggle for every website on which you want to display the chat widget.
5
Republish your site to complete installation. Select Go to Webflow to proceed.
6
Select Publish in the upper right corner, then select Publish to selected domains to display the chat widget on your website.
If you manage multiple stores, customize chat widgets separately for each one of your brands. Check out 89����ô�� groups to learn how.
That’s it! From now on, your Webflow websites will display a chat widget! To answer chats you can use one of our apps, web, desktop or mobile.
Integrate and automate
Cover all your brand channels with one platform. Make your agents’ jobs easier.
Engage customers automatically and effortlessly with plug-and-play automated campaigns.
If you followed all of the installation steps, your Webflow store communication setup should now be complete. It’s time to optimize.
Start by integrating your brand’s social media channels:
Finish by creating an automated engagement machine with campaigns. Create pop-up invitations about your products, promo codes, or newsletters. Surprise your audience with seamless communication that drives new leads.
Follow this tutorial to set up 89����ô�� on your GoDaddy page. When it's done, you'll be able to answer questions coming from your visitors in the real time.